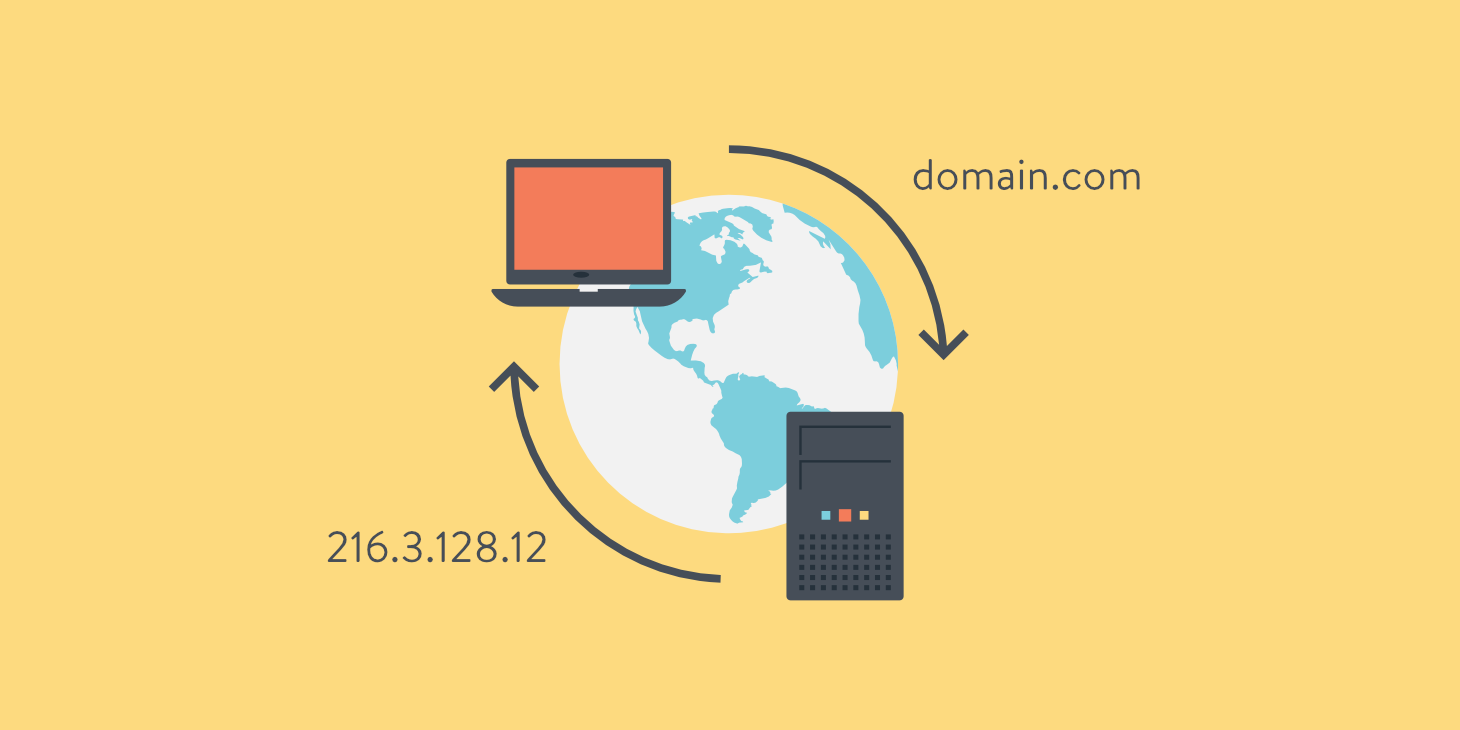
This blog post will guide you through the process of changing the DNS server settings on your Ubuntu Server 22. By changing your DNS servers, you can improve the security, privacy, and speed of your internet connection. We’ll cover how to modify the Netplan configuration file and verify the changes.
Changing DNS Server Settings using Netplan
- Open the terminal or log in to the server using SSH.
- List the available Netplan configuration files:
ls /etc/netplan
- Identify the configuration file for your network interface. It usually has a .yaml extension, for example,
00-installer-config.yaml. - Open the configuration file with a text editor (such as nano) using sudo:
sudo nano /etc/netplan/00-installer-config.yaml
- Edit the file to include the DNS servers you want to use. If you’re using DHCP for IP address assignment, add the following lines under the correct network interface (ethernet or wifi), replacing
1.1.1.1and1.0.0.1with the desired DNS server addresses:
dhcp4: true
dhcp6: true
nameservers:
  addresses: [1.1.1.1, 1.0.0.1]
If you’re using static IP address configuration, add the DNS server addresses to the existing configuration like this:
addresses: [192.168.1.10/24]
gateway4: 192.168.1.1
nameservers:
  addresses: [1.1.1.1, 1.0.0.1]
- Save and exit the file (for nano, press Ctrl + X, then Y, and finally, Enter).
- Apply the new Netplan configuration:
sudo netplan apply
- Verify the new DNS settings by checking the contents of the
resolv.conffile:
cat /etc/resolv.conf
Your new DNS servers should be listed in the output.
Checking the Current DNS Servers
To check which DNS servers your system is currently using, you can run the resolvectl status command. This command provides detailed information about the DNS settings for each network interface.
Follow these steps to check the current DNS servers:
- Open a terminal or log in to the server using SSH.
- Run the following command:
resolvectl status
- The output will show the current DNS servers being used by your system for each network interface. Look for the “Current DNS Server” and “DNS Servers” fields under the desired network interface (e.g., enp3s0).
Conclusion
In this blog post, we’ve shown you how to change the DNS server settings in Ubuntu Server 22 by modifying the Netplan configuration file. By following these steps, you can customize your DNS servers to improve the security, privacy, and speed of your internet connection. Don’t forget to verify the changes to ensure your system is using the desired DNS servers.


